How to Edit a Form in Power Pages?

This guide provides comprehensive insights into editing forms within the Power Pages environment. Through a structured series of steps, users learn to navigate Power Pages Management, create and sync forms, and effectively manage data on their web pages. This guide equips users with the knowledge and skills necessary to streamline the process of editing forms, ensuring optimal functionality and user experience on their websites.
Step to Edit a Form in Power Pages
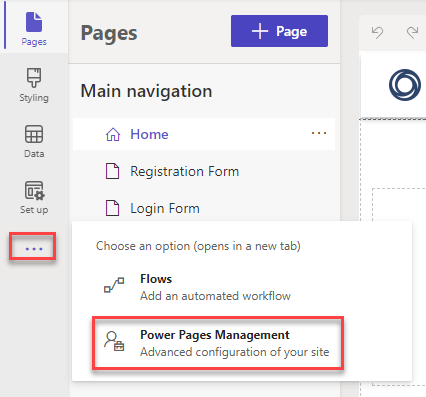
Step 1: Go to the Power Pages Management
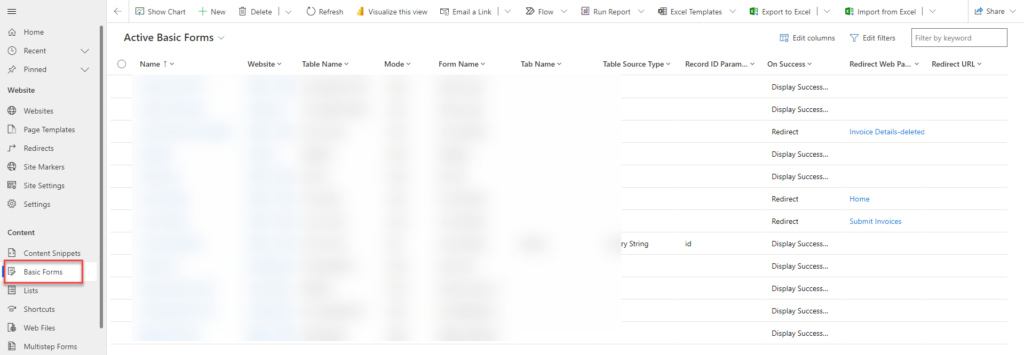
Step 2: Go to Basic Forms and click on the “+ New” button.
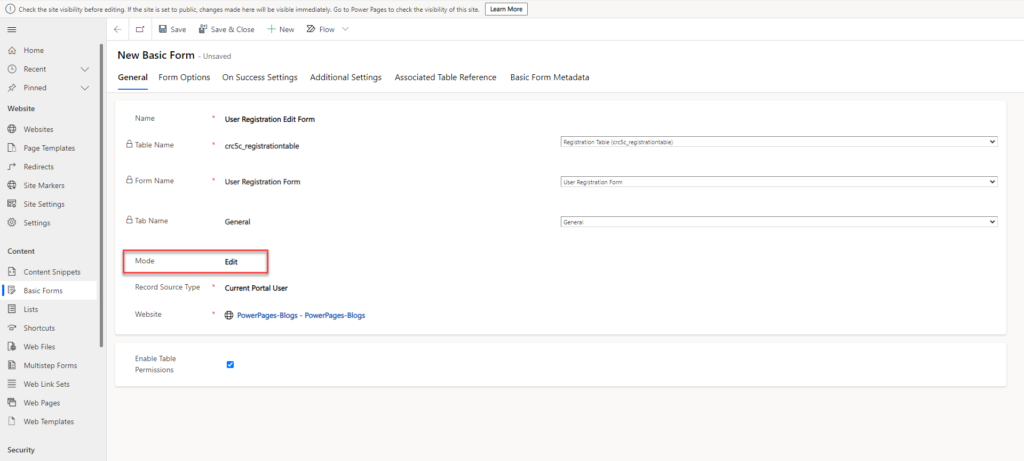
Step 3: Give a name to the form, then select a table. Next, choose the form name and tab name. In the mode selection, choose “Edit,” then select the record source type and website, and finally click on Save.
Step 4: Go to the Power Pages site and “Sync” the site. On the page, in the component section, click on the form and select the edit form that was created.
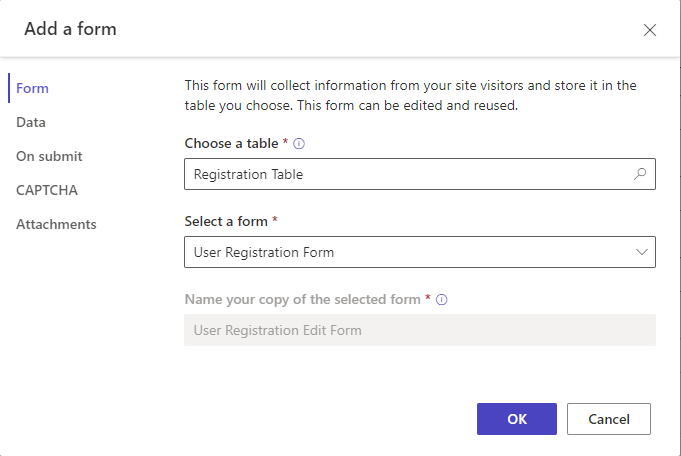
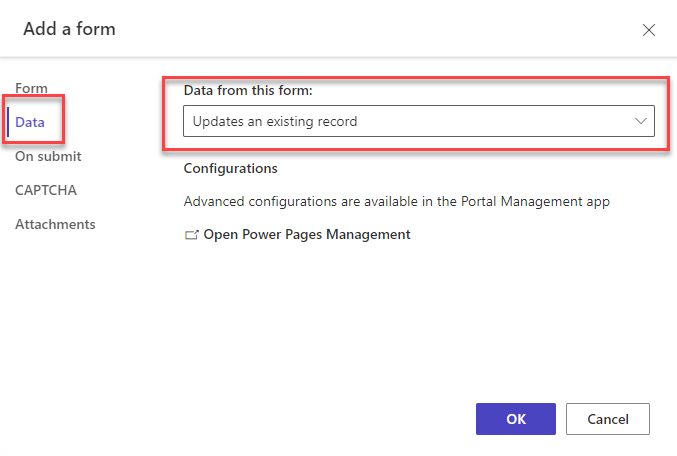
In the data section, you can see that your form is set to update an existing record. Now, you can click on “OK” and add the form to the page.
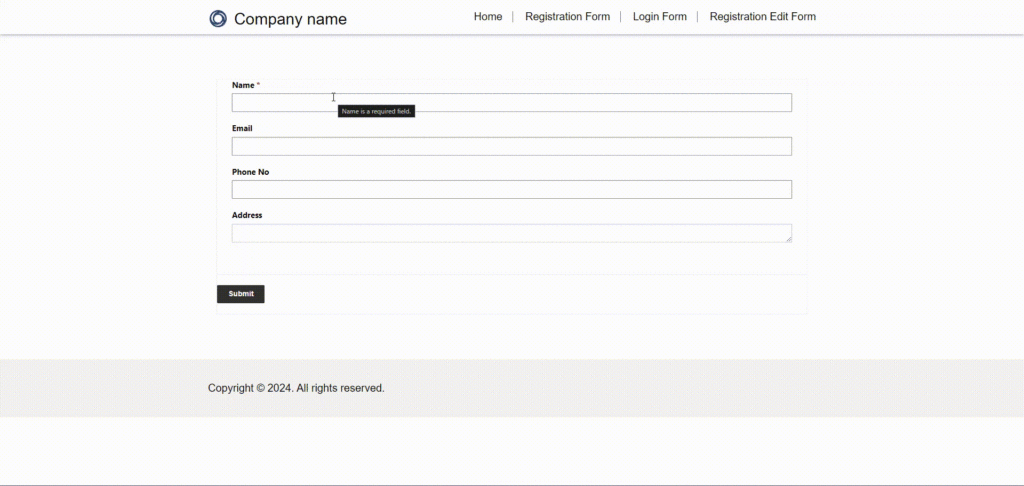
Step 5: To use the edit form, you need to first add some user information to the database, and then you can edit those details.
Step 6: To add the user in database first register an user for the page you have created and then in power pages management give the table permission and create a web role then provide this web role to table permission and for web role provide the contact that you sign in or else provide the Administrator Role.

Step 7:After Providing the table permission click on Sync for synchronization and then click on preview to edit the form.

Step 8: After Adding the data click on submit and the data which you provided it will submit to you database.


Comments
Post a Comment